PS制作Google Chrome瀏覽器Logo圖標(biāo)(7)
來源:未知
作者:admin
學(xué)習(xí):14740人次
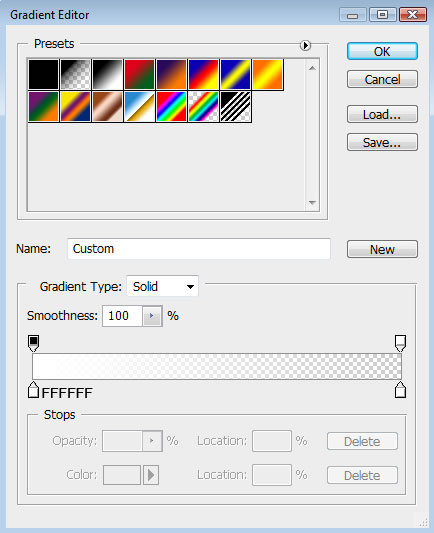
Gradient parameters:
漸變參數(shù)設(shè)置

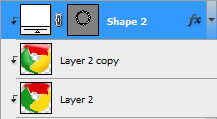
將圖層移至剛才制作高光陰影的那一層之上,按住Alt鍵點擊兩圖層之間,創(chuàng)建剪貼蒙版.

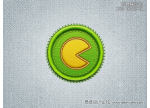
接下來這一步,我們將畫一道底部的高光,選擇橢圓工具(U),沿著圖標(biāo)的底部畫出高光的外邊,再按住Alt鍵清除掉不必要的部分,圖層顏色為白色

Blending mode-Lighter Color
圖層設(shè)置:填充:25%
疊加模式:顏色減淡

到這一步圖標(biāo)就完成了!
- 相關(guān)教程
- TA的教程
- 收藏
- 返回
- PS制作瀏覽器
- PS制作Logo圖標(biāo)
學(xué)習(xí) · 提示
關(guān)注大神微博加入>>


網(wǎng)友求助,請回答!