PS制作Google Chrome瀏覽器Logo圖標(biāo)(4)
來源:未知
作者:admin
學(xué)習(xí):14740人次
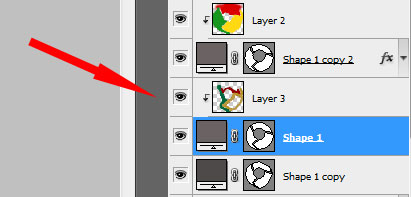
Create a new layer again situating it above the previous made one and do the same operations we did when painting the top layer (meaning the layer situated above the shadow layer, but lower than the logotype one).
再創(chuàng)建一個(gè)新圖層,重復(fù)之前給扇葉上色時(shí)的步驟,為上一步驟復(fù)制的形狀圖層上色,具體參數(shù)如下圖:
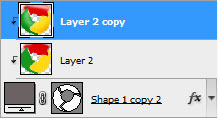
將為表面扇葉上色時(shí)的顏色圖層復(fù)制一份,使用加深和減淡工具畫上一些高光和陰影(如圖)

- 相關(guān)教程
- TA的教程
- 收藏
- 返回
- PS制作瀏覽器
- PS制作Logo圖標(biāo)
學(xué)習(xí) · 提示
關(guān)注大神微博加入>>


網(wǎng)友求助,請(qǐng)回答!