PS磨砂邊框教程(3)
來源: 形色主義
作者:烏魚
學習:7619人次
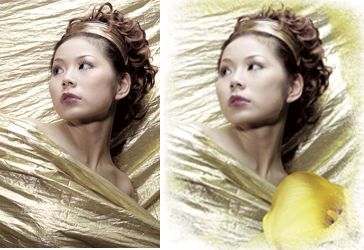
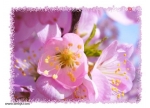
photoshop教程原圖

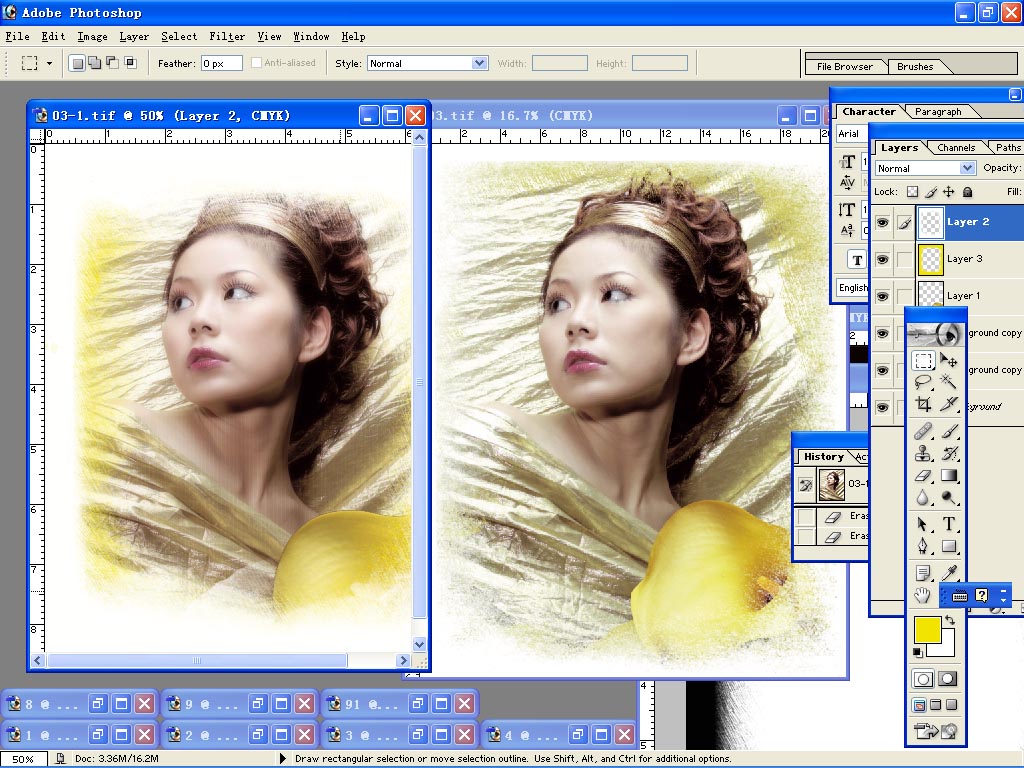
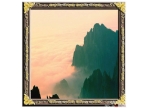
效果

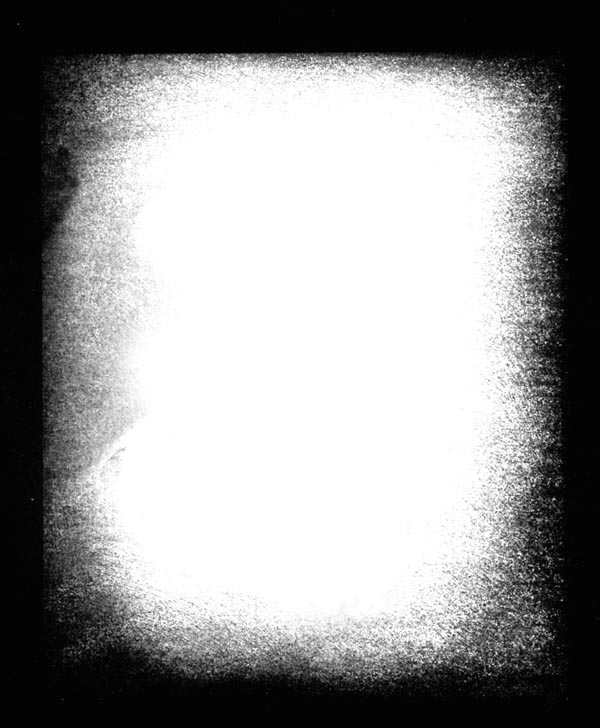
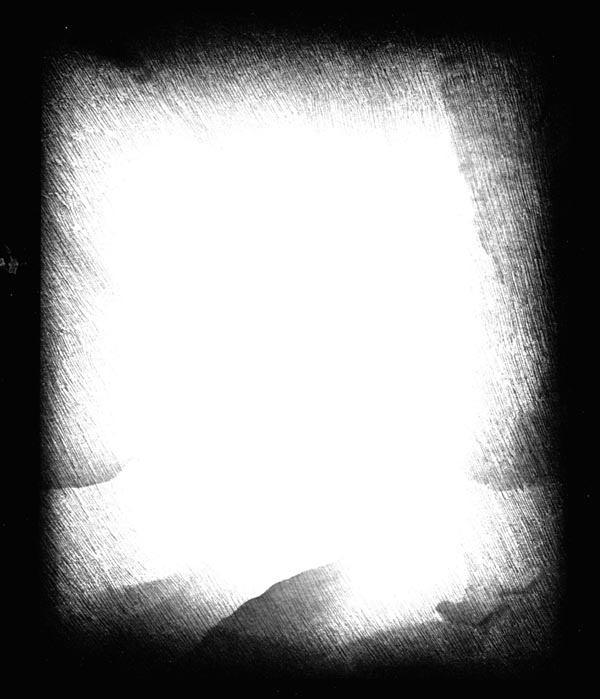
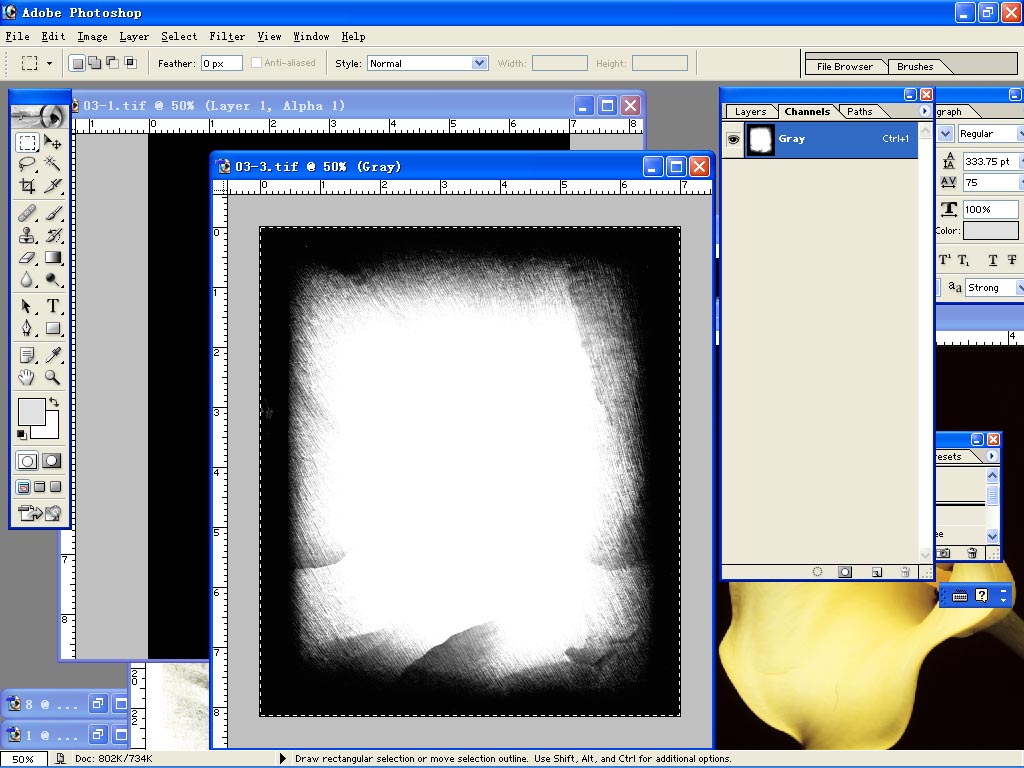
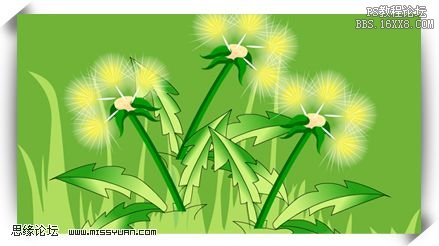
素材
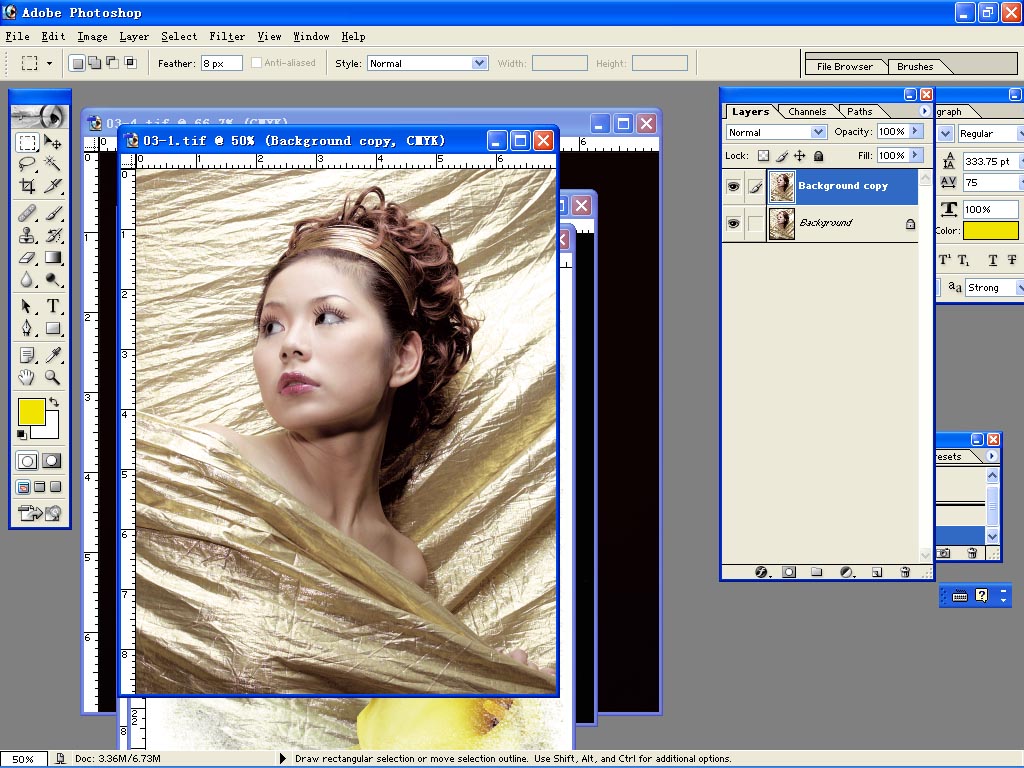
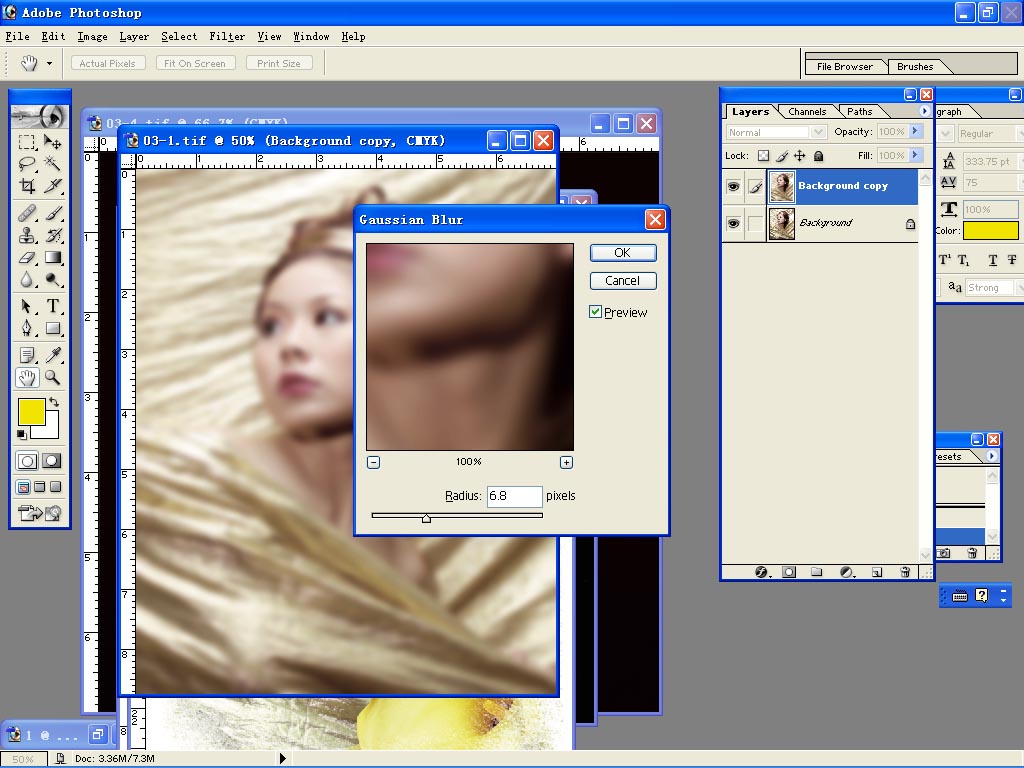
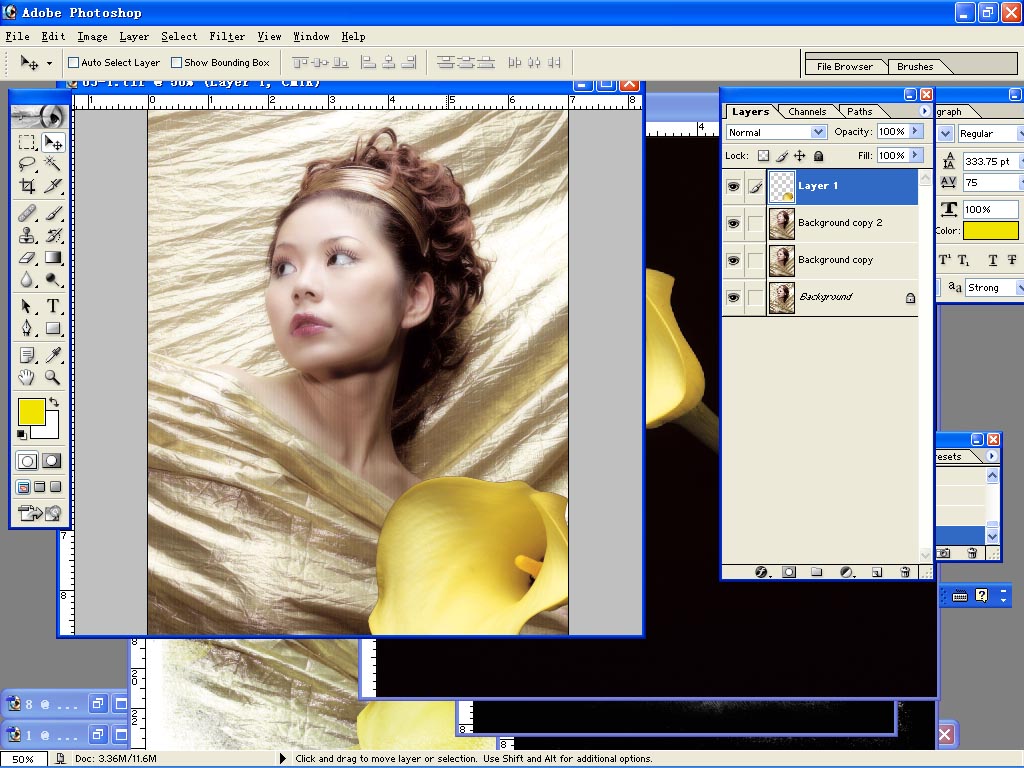
COPY并成為新圖層
執(zhí)行模糊
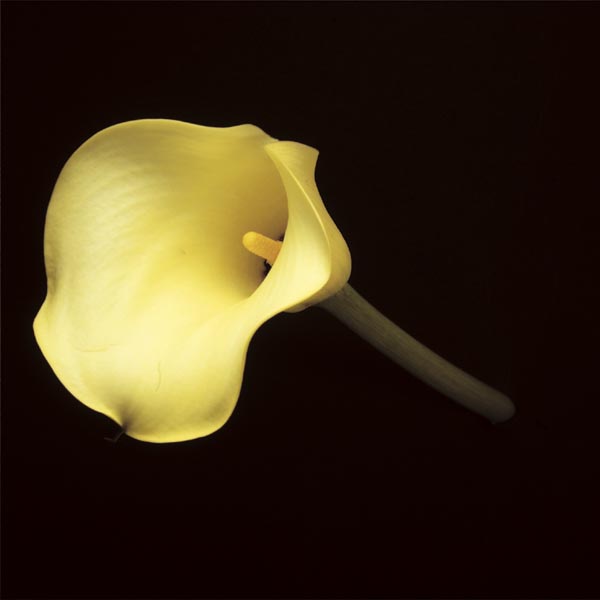
花朵素材
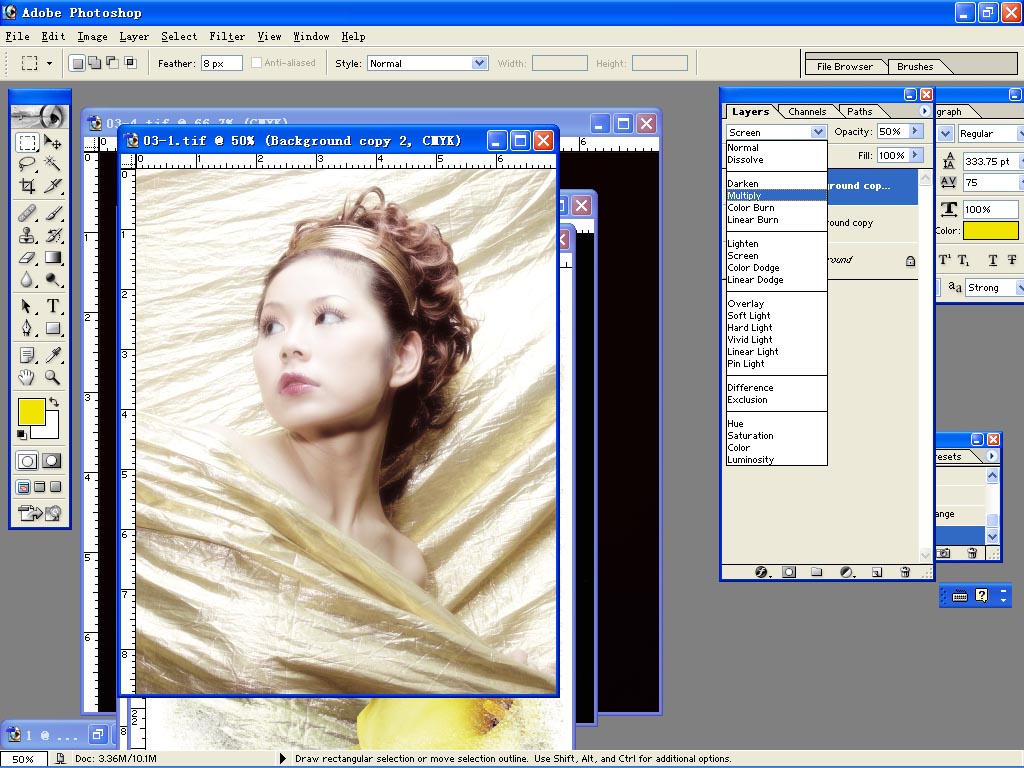
同樣在新圖層執(zhí)行SCREEN,透明度50%
之后在COPY一個新圖層,執(zhí)行multiply命令

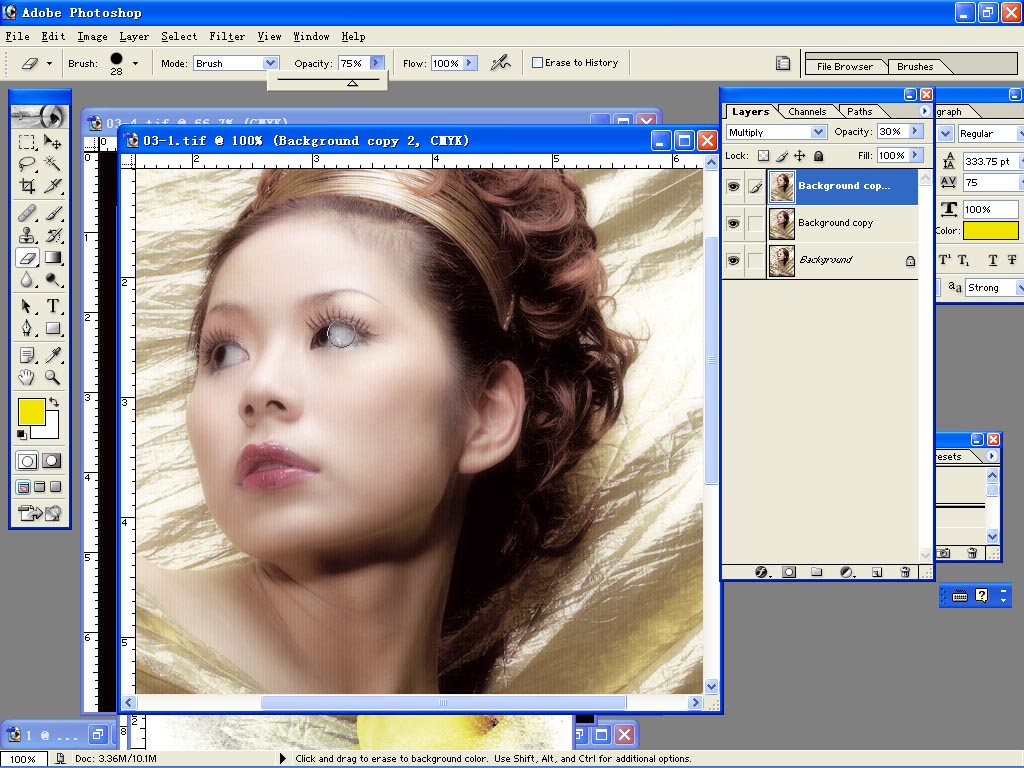
將新圖層的不透明度設到30%
選擇橡皮工具,將不透明度設為75%(前面的透明度均為不透明度)
并將眼睛擦亮(顯示下面的圖提高銳利度)
打開花的素材
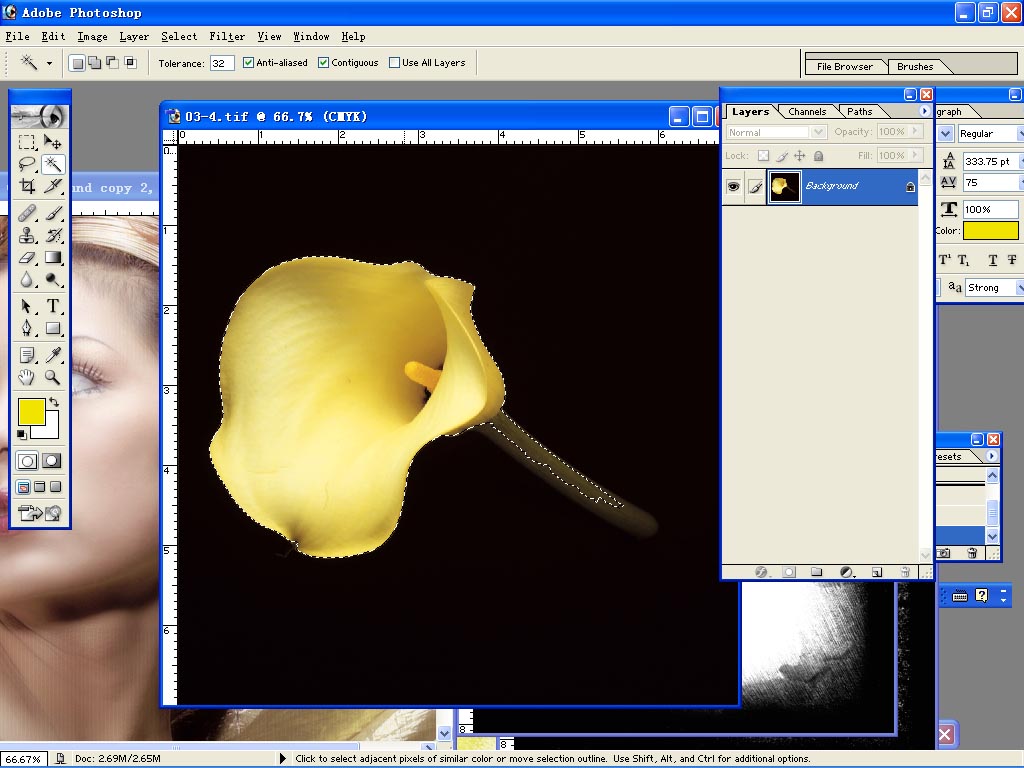
將素材使用魔術棒選取之后,置入畫面,并縮放到合適大小(本圖位修改,所以過大了)
將另外2張素材置入畫面分別設置顏色和不同的選取值,可有不同效果
學習 · 提示
相關教程
關注大神微博加入>>


網(wǎng)友求助,請回答!